Blog

Rethinking Wildfire Safety: Why California’s “Zone 0” Plant Bans Might Miss the Mark

California’s proposal to ban almost all vegetation within 5 feet of homes—known as “Zone 0”—assumes that bare ground is always safer. Yet both field observations and scientific research suggest the opposite: well‐maintained, hydrated plants can intercept embers, cool surrounding air, and deflect wind‐borne firebrands before they reach structures. Removing these living barriers may leave homes as the first—and only—obstacle to embers, turning residences into unintended “ember catchers.”

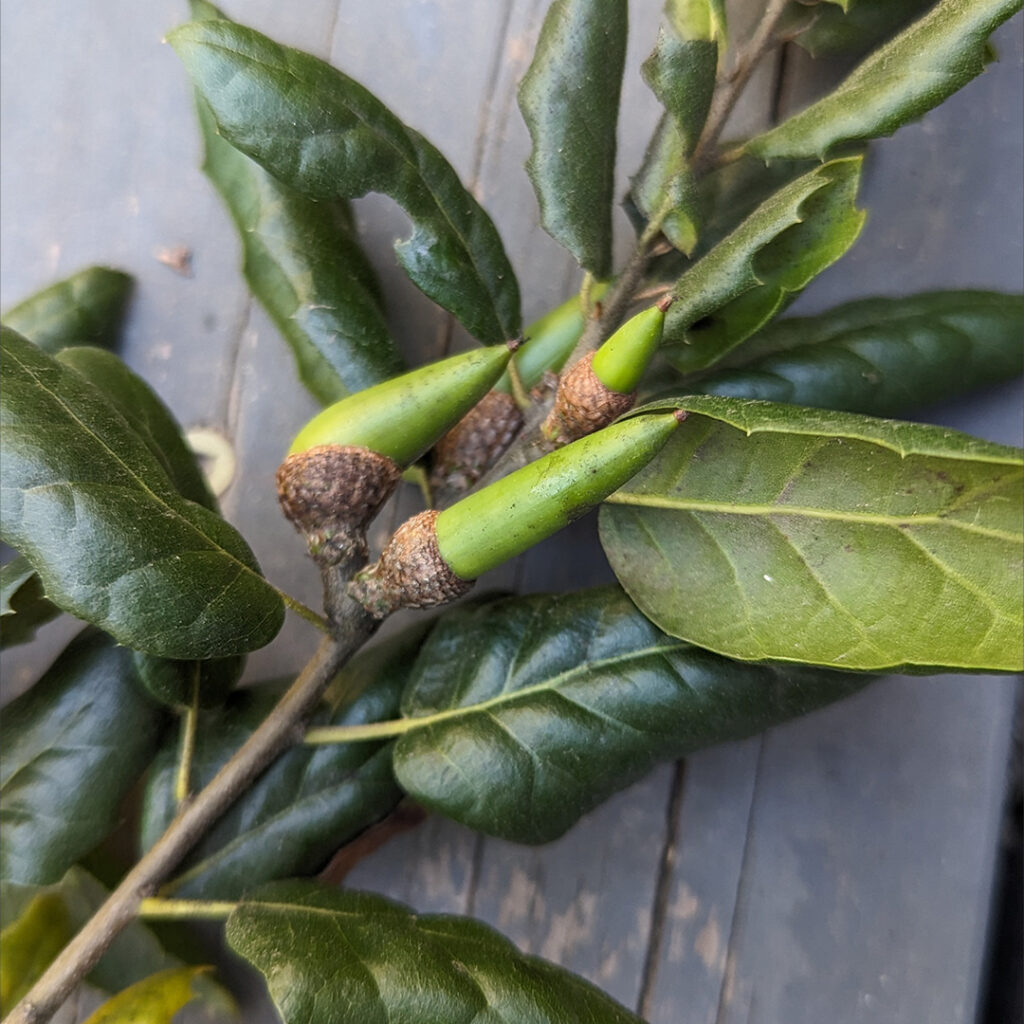
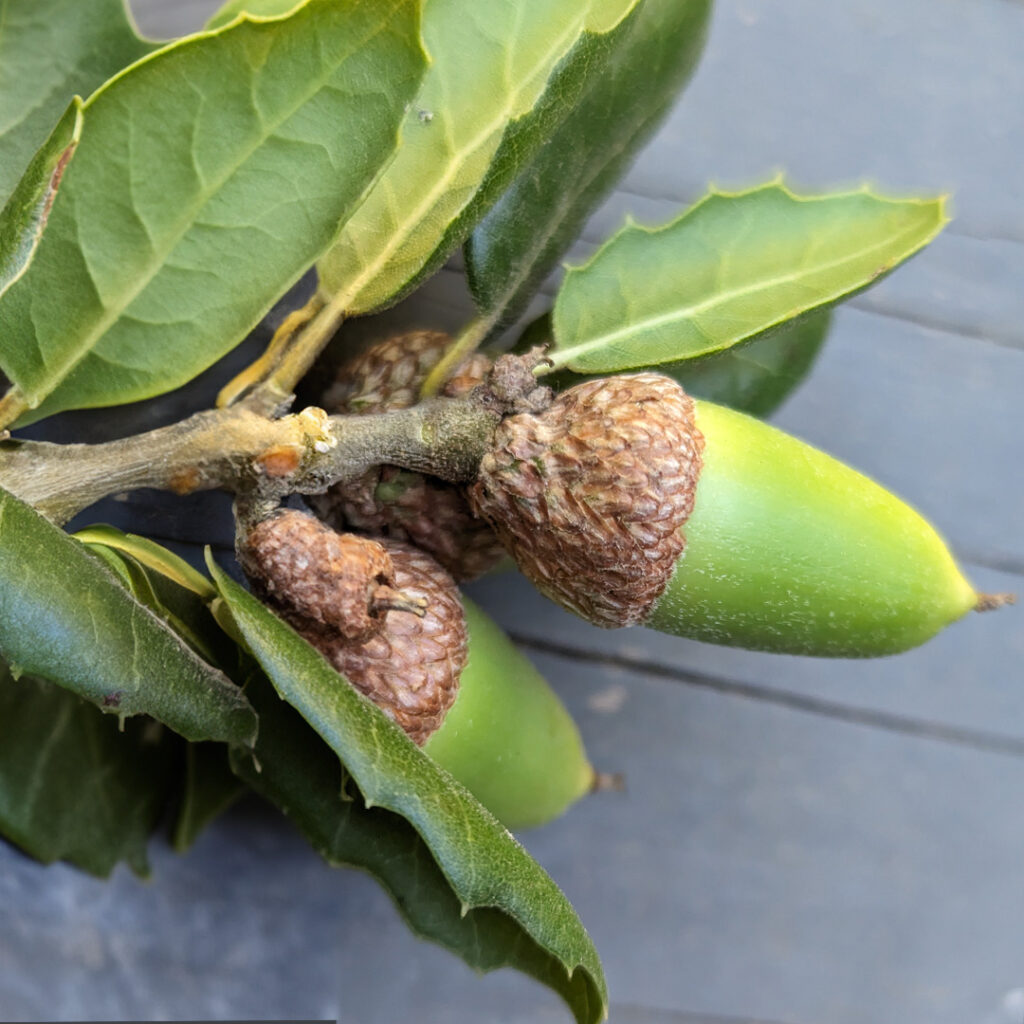
Hydrated Natives as Living Ember Barriers

Native California plants evolved to thrive on minimal supplemental irrigation and, when lightly hydrated, become highly fire‐resistant. Key benefits include:

    • Ember interception: Moist foliage resists ignition and traps glowing particles.

    • Thermal buffering: Evapotranspiration cools ambient air, reducing radiant heat transfer.

    • Wind disruption: Vegetation canopy creates turbulence that scatters and deflects embers.

Greg Rubin’s firescaping workshop emphasizes a bi-weekly deep soak—reaching 12–18 inches of soil every 10–14 days—to keep Zone 1 shrubs and trees healthy without over-watering.

Wind-Driven vs. Fuel-Driven Fires

The most catastrophic California fires are wind-driven: embers carried by gusts ignite structures first, and buildings then serve as fuel. Regulations that treat fire spread as purely “fuel-driven” overlook how lightly irrigated green belts disrupt ember trajectories. Aerial aerodynamics matter: hydrated plants with vertical structure generate mini-eddies that cool and scatter embers before they strike siding or vents.

Debunking Common “Fire-Safe” Plant Myths

Experts caution against oversimplified plant lists and highlight maintenance and moisture as the true flammability controls. Common misconceptions include:

    • Palm Trees: Unpruned fronds act as ember lofting towers—among the worst fire carriers.

    • Ice Plant: Requires 3–4× the water of natives, burns readily (especially thatch), and offers poor erosion control.

    • Junipers & Cypresses: Accumulate dead material within foliage, fueling rapid ignition near homes.

    • Mulch: Laboratory tests often use fluffed-up materials; in reality, consolidated, hydrated shredded bark (e.g., redwood “gorilla hair”) holds moisture, stabilizes slopes, and resists ember-driven fire better than bare soil.

A Balanced Firescape Strategy for Plant materials.

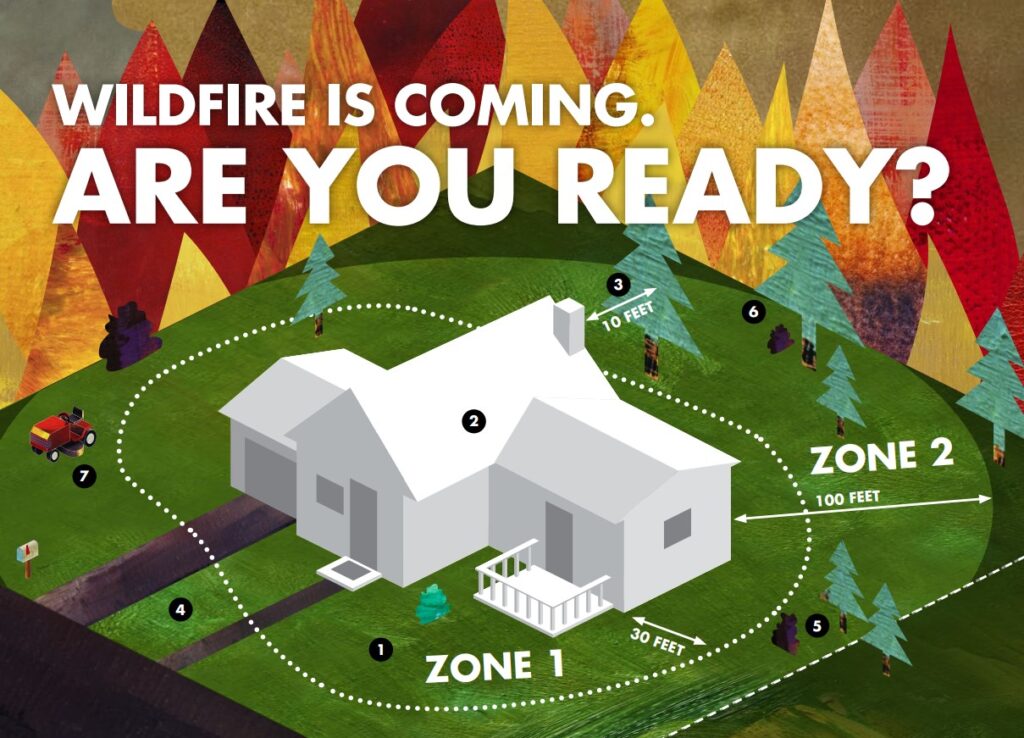
Rather than a blanket Zone 0 ban, integrate green buffers with structural hardening:
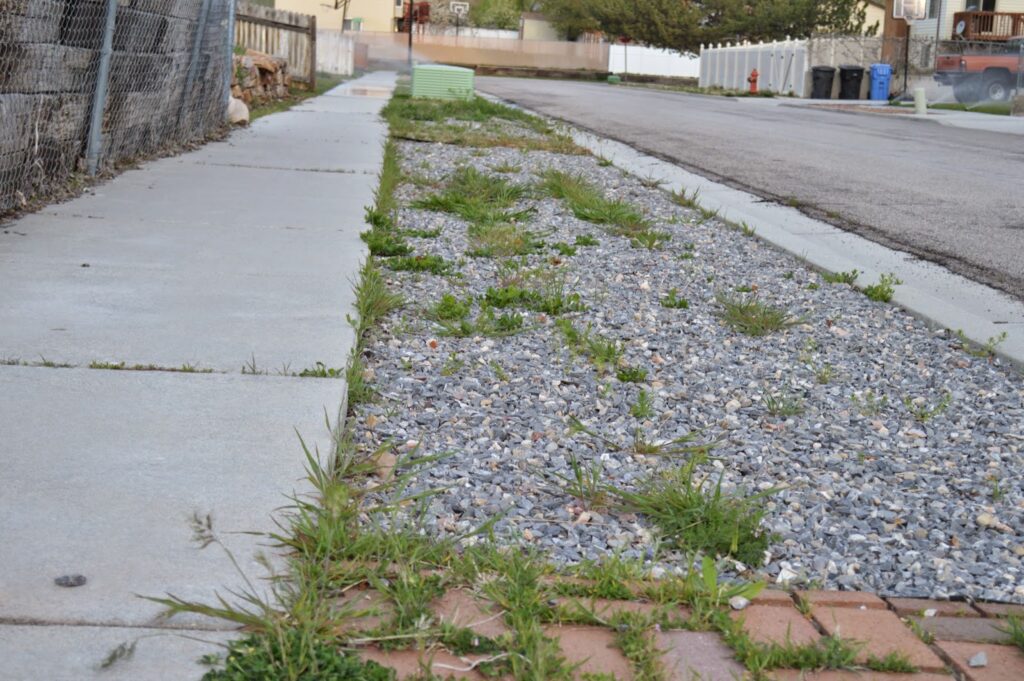
Zone 0 (0–5 ft)

  • New builds: Limit plantings and focus on gravel or decomposed granite for access and ember clearance.
  • Existing homes: Remove Plants from under windows and openings, Prune away from structures and remove deadwood, and keep remaining plants hydrated and well maintained.
    •  

Zone 1 (5–30/50 ft)

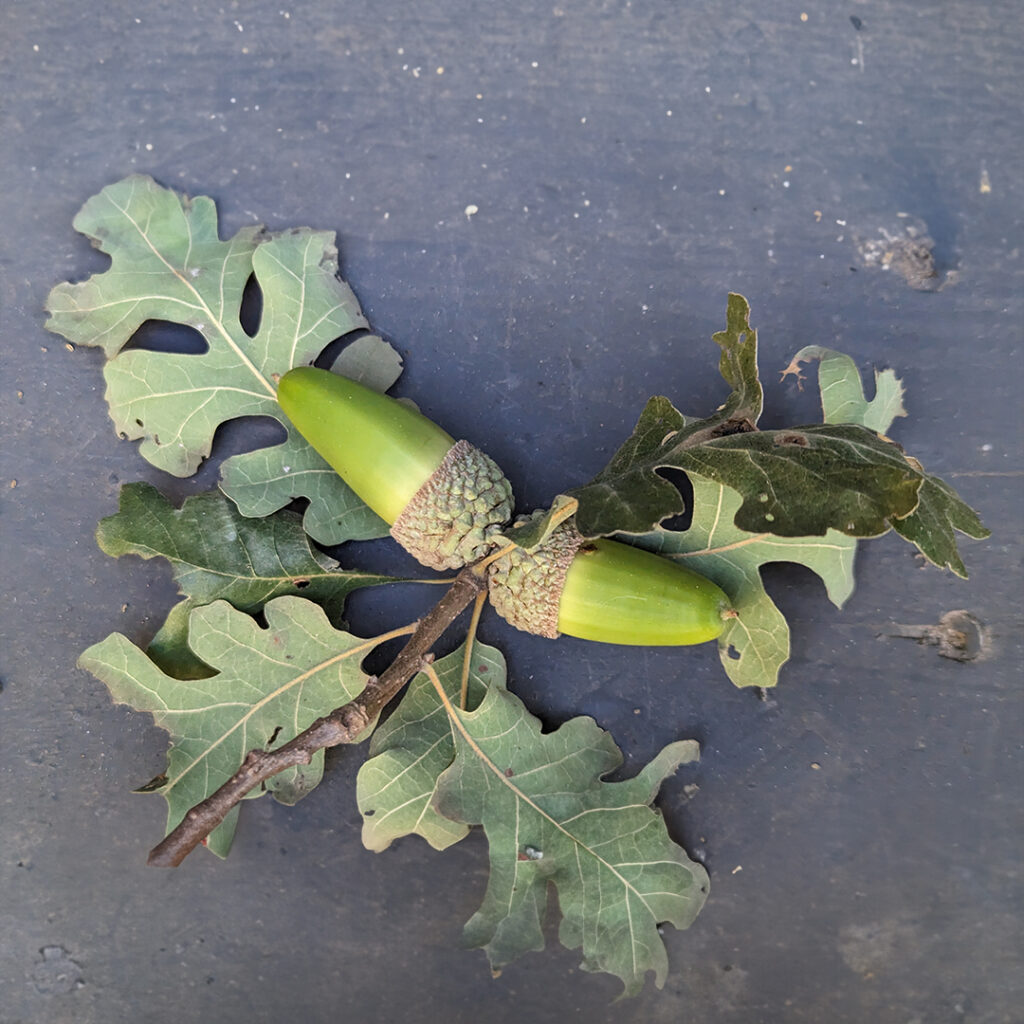
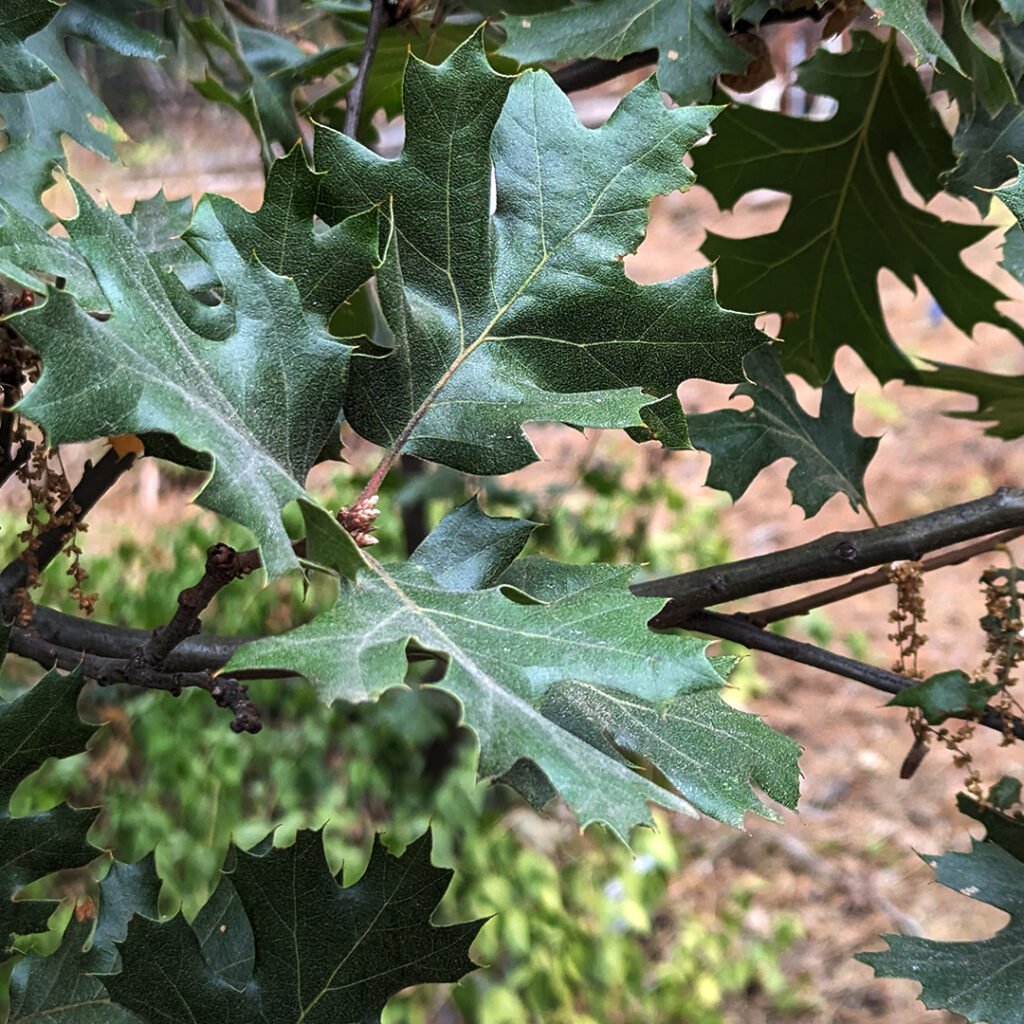
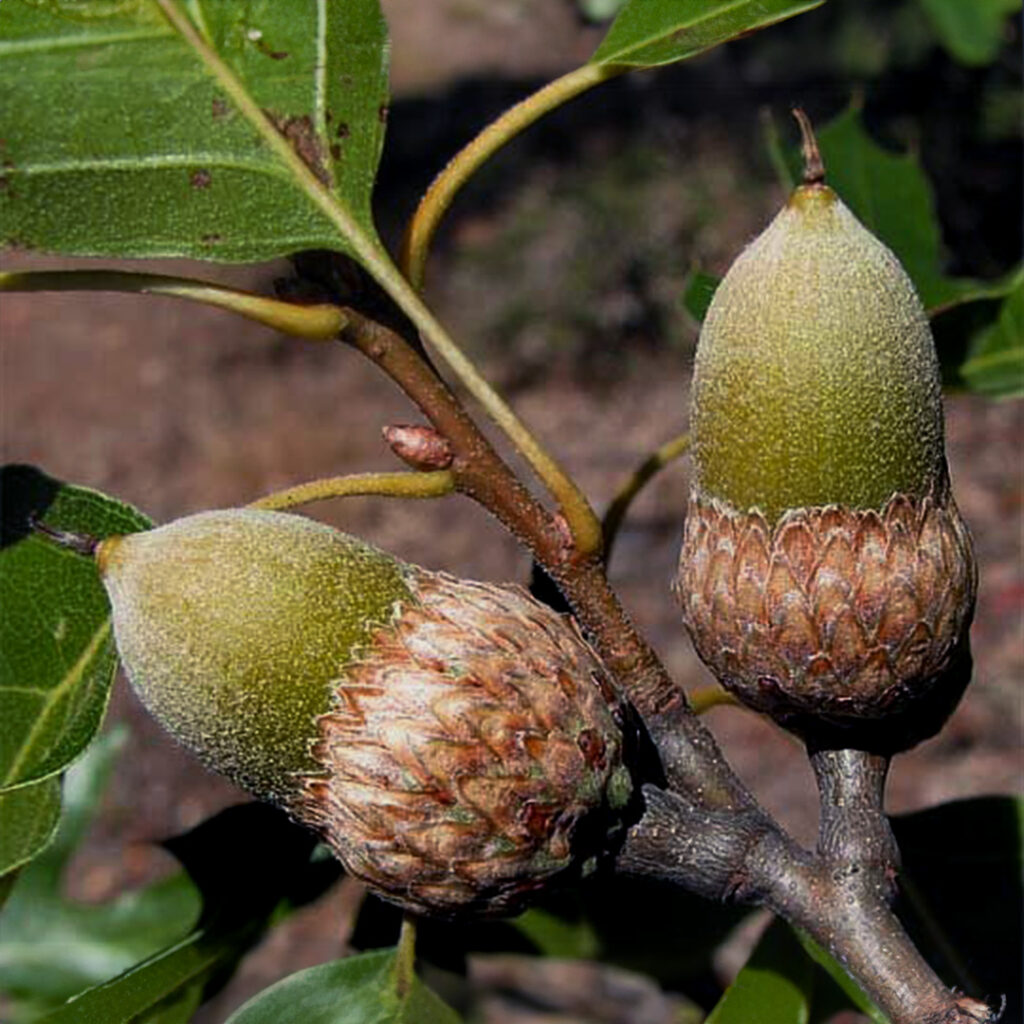
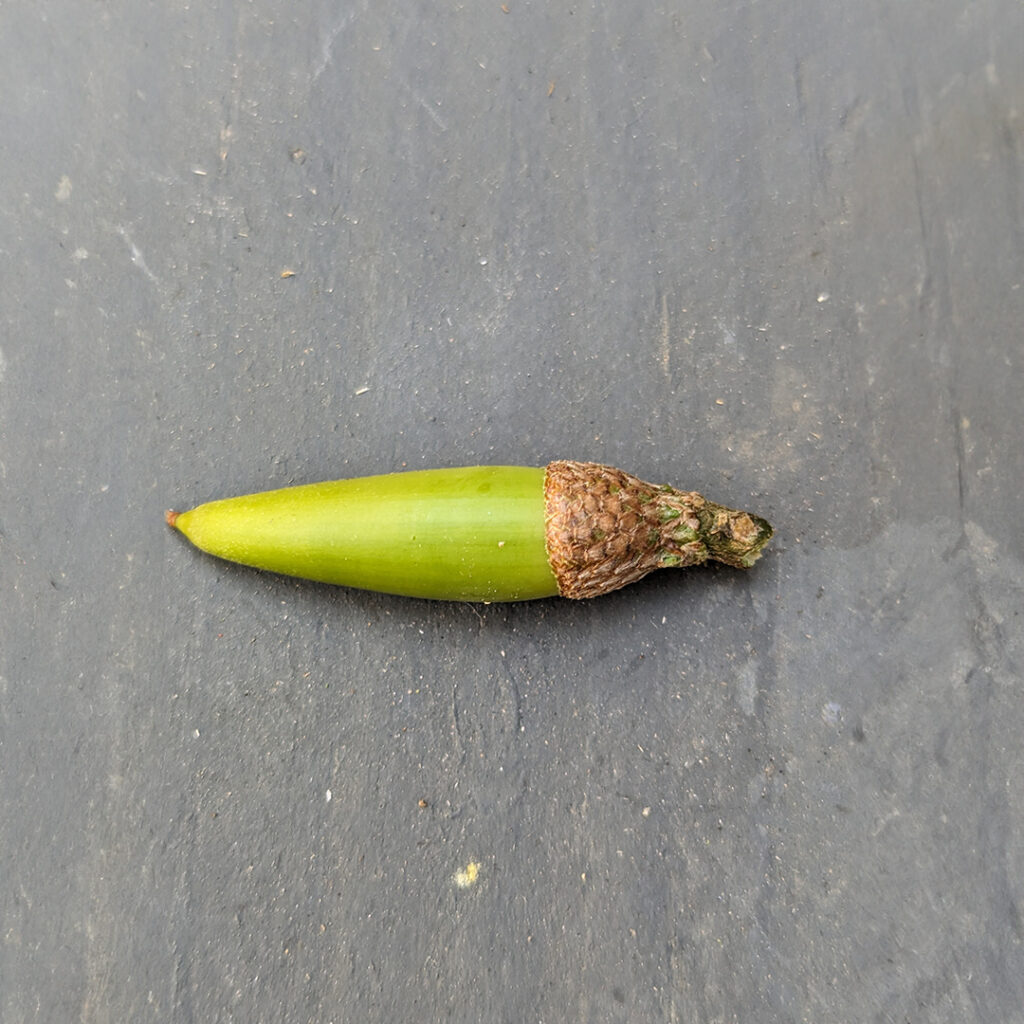
  • Lightly irrigated native belts: Catalina cherry, sycamore, cottonwood, and oaks (with cleared understory).
  • Medium shrubs: lemonade berry, coffee-berry; ground covers: wild lilac (Ceanothus ‘Yankee Point’), low-growing manzanitas.

    Beyond Zone 1

    • Thin chaparral by 40–50% (avoid over-thinning to prevent weed invasion).
    • Return chipped prunings as mulch to conserve moisture and suppress weeds.

      Home Hardening

        • Ember-resistant vents.

        • Class A roofing and boxed-in eaves,

        • Metal-frame double-pane windows – tempered glass are best.

        • Non-combustible siding

        • Non-combustible fencing where it meets the house.

      Moving Forward with Science and Nuance

      In an article in the LA Times , Max Moritz and Luca Carmignani warn that overly prescriptive vegetation removal “goes beyond what is currently known from scientific research regarding plant flammability” and risks public pushback. By pairing well-managed, lightly hydrated native landscapes with proven home-hardening measures—and by incorporating wind-driven fire dynamics—California can foster resilient, water-wise communities without resorting to a scorched-earth policy.

      References

        1. Greg Rubin, California’s Own Native Landscape Design, Firescaping Workshop on plant hydration and ember dynamics.
        2. Max Moritz and Luca Carmignani, “California’s proposed ban on plants near homes could be dangerously bad advice,” Los Angeles Times Contributor, June 2, 2025.

      1.  

      Why Are We Still Talking About Fake Grass? The Many Problems with Artificial Turf

      Artificial turf may appear to be the perfect solution for a lush, green lawn without the effort of mowing or watering. However, this seemingly ideal option hides a host of issues that make it less desirable in the long term. From environmental concerns to practical drawbacks, artificial turf is far from the sustainable choice it claims to be. Here, we explore the many problems with artificial turf and why natural grass remains the better alternative.


      The Illusion of Perfection: Looks Matter

      While artificial turf might promise a perpetually green, pristine appearance, the reality often falls short. It doesn’t take long for fake grass to lose its appeal. The uniform texture and unnatural color can quickly begin to look cheap and fake, especially as it ages. Unlike natural grass, which evolves and grows into the landscape, artificial turf remains static and unconvincing. Instead of enhancing the beauty of your outdoor space, it may detract from it by appearing artificial and synthetic.


      The Heat Problem: Artificial Turf Turns Up the Temperature

      One of the most significant drawbacks of artificial turf is its tendency to absorb and retain heat. During sunny days, the surface of fake grass can become unbearably hot, making it uncomfortable or even unsafe for children, pets, and anyone walking barefoot. Worse still, the increased heat contributes to the warming of the surrounding area, raising the ambient temperature of the entire neighborhood. Natural grass, on the other hand, helps cool the environment by releasing moisture and providing a softer, cooler surface.


      High-Maintenance Reality: Cleaning and Vacuuming Fake Grass

      Contrary to the belief that artificial turf is maintenance-free, it requires regular upkeep to preserve its appearance. Leaf litter, dirt, and debris accumulate on the surface and cannot break down naturally as they would on real grass. To remove these unwanted materials, artificial turf must be vacuumed or cleaned frequently—an inconvenient chore that negates the “easy care” appeal. Real grass, in contrast, allows organic matter to decompose and enrich the soil, creating a healthier ecosystem.


      Unsanitary Conditions: Wildlife Creates Messes

      Artificial turf is also highly unsanitary when exposed to birds, pets, and neighborhood wildlife such as raccoons or stray cats. Unlike natural grass, which absorbs and neutralizes organic waste, fake grass allows it to linger, leading to unpleasant odors and potential health risks. Cleaning artificial turf to eliminate these messes often requires more water and effort than you’d expect, adding to the overall maintenance burden.


      A Hidden Cost: Wasting Water on Artificial Turf

      Although artificial turf doesn’t need watering to grow, it ironically demands water to clean and cool its surface. Whether spraying it down to remove dirt or to reduce its scorching temperature, the water used for these tasks undermines any perceived environmental benefits. This wasted water is particularly concerning in regions where conservation is critical, making fake grass an illogical choice for sustainability.


      Environmental Harm: Microplastics and Ecological Damage

      Perhaps the most troubling aspect of artificial turf is its impact on the environment. Made from plastic-based materials, fake grass contributes to the growing problem of microplastic pollution. Over time, these tiny particles break off and seep into the soil, water systems, and air, posing a threat to wildlife and human health. Unlike natural grass, which supports biodiversity and promotes soil health, artificial turf creates a barren, lifeless landscape that disrupts ecosystems. Once installed, the microplastic pollution generated by fake grass is irreversible and continues to harm the environment for decades.


      The Better Alternative: Real Sod

      In stark contrast to artificial turf, real sod offers a wealth of benefits for both individuals and the planet. Natural grass fosters biodiversity, improves air quality, and cools the surrounding area. It allows leaves and debris to decompose naturally and supports the ecosystem by nurturing soil health.

      For those concerned about water usage, there are solutions that make real grass more sustainable. Reducing the size of your lawn is a simple way to minimize water consumption while still enjoying the beauty and benefits of natural grass. Instead of covering large areas with grass, consider scaling down your lawn to match your needs. Additionally, drought-resistant grass varieties and efficient irrigation systems can further reduce water usage.


      Conclusion: Why Real Grass Wins

      The many problems associated with artificial turf—from its fake appearance to its negative environmental impact—highlight why this option should not be the future of landscaping. Despite its promise of convenience and perpetual greenery, fake grass creates more challenges than it solves. Real sod remains the superior choice, offering aesthetic appeal, environmental benefits, and a healthier ecosystem. By choosing natural grass and scaling your lawn to fit your needs, you can enjoy a sustainable, beautiful outdoor space while supporting the planet.

      So, let’s ask ourselves again: why are we still talking about fake grass? Perhaps it’s time to stop the conversation and focus on the greener solution—real grass.

      Understanding Binomial Nomenclature: The Science of Naming Plants

      Unveiling the Generic and Specific Epithets

      The world of botany is rich with diverse forms and species, making the classification and identification of plants both a fascinating and complex task. Central to this endeavor is the system of binomial nomenclature, a universally accepted method for naming organisms that was devised by Carl Linnaeus in the 18th century. This system, which employs two Latin names to identify each species, is crucial for ensuring clarity and consistency in the botanical world.

      The Basics of Binomial Nomenclature

      Binomial nomenclature involves the use of two names: the generic (genus) and the specific (species) epithet. The genus name is always capitalized, while the species name is written in lowercase and italicized. For instance, in Eriogonum fasciculatum, Eriogonum represents the genus, and fasciculatum the species. This two-part naming system not only aids in the precise identification of plants but also reflects their evolutionary relationships.

      Generic and Specific Epithets

      The generic epithet denotes the broader category to which a plant belongs, grouping together species that share certain structural characteristics. The specific epithet, on the other hand, distinguishes individual species within the genus based on unique traits. This combination of names provides a detailed and organized way to catalog the vast diversity of the plant kingdom.


      In addition to the basic binomial name, cultivars come into play. A cultivar, short for ‘cultivated variety,’ is a plant variety that has been produced in cultivation by selective breeding. Cultivar names are appended to the binomial name and are often enclosed in single quotation marks, such as Salvia greggii ‘Furman’s Red’. This naming convention helps in identifying plants that have been specifically bred for particular characteristics, such as fruit color, flower form, or disease resistance.

      Challenges of Morphology-Based Naming

      Traditionally, plants were classified based on their morphology, which involves the observable physical characteristics like shape, structure, color, and size. While this method is straightforward, it can often lead to misidentifications and inconsistencies. Morphology can be influenced by environmental factors, leading to significant variation within a single species. This makes it difficult to accurately categorize plants solely on their appearance.


      For example, plants within the same genus can exhibit vastly different morphologies. Take the genus Senecio from the Asteraceae family. Some species of Senecio look remarkably similar to daisies, with their iconic yellow or white ray flowers. Others, however, are succulent and bear a striking resemblance to cacti, with thick, fleshy leaves adapted to arid environments. Despite their different appearances, these species are genetically related and belong to the same genus. This highlights the limitations of morphology-based classification.

      The Genetic Revolution in Plant Classification

      Advancements in genetic research have revolutionized the way we classify plants. By analyzing DNA sequences, botanists can uncover evolutionary relationships that are not apparent through morphology alone. This method, known as molecular phylogenetics, allows for a more accurate and reliable classification of plants based on their genetic makeup.


      Genetic analysis has revealed that plants which may look very different can indeed be closely related. In the case of Senecio, genetic studies have confirmed that both the daisy-like and cactus-like species share a common ancestry and belong to the same genus. This genetic approach not only clarifies the relationships between different species but also helps in identifying new species that were previously misclassified due to their morphological differences.

      The Importance of Accurate Plant Naming

      Binomial nomenclature is a fundamental tool in the field of botany, providing a structured and consistent way to name and classify plants. Accurate naming not only benefits scientists but also has practical applications for home gardeners. Understanding the precise names of plants can help gardeners make informed decisions about plant care, pest control, and landscape design. For instance, by knowing the specific species and its characteristics, gardeners can choose plants best suited for their climate and soil conditions. Furthermore, it ensures that gardeners can effectively communicate with nurseries and fellow enthusiasts, fostering a shared knowledge and appreciation for the incredible diversity of the plant kingdom.


      King penguins can often find giant squid…

      As a light-hearted tip to cap off your botanical journey, remember that you can use the mnemonic device “King penguins can often find giant squid” to recall the taxonomic hierarchy: Kingdom, Phylum, Class, Order, Family, Genus, and Species.

      Just imagine those regal penguins embarking on an adventurous deep-sea hunt, and you’ll never forget the order of classification again!

      Uncommon Gardens is now a RESCAPE QUALIFIED PROFESSIONAL

      As stewards of the environment, Uncommon Gardens is committed to creating sustainable and regenerative landscapes that harmonize with nature. We draw inspiration from ReScape, a nonprofit organization advocating for whole-systems regenerative approaches to landscaping. Let’s delve into ReScape’s eight principles and explore how Uncommon Gardens is weaving them into our design ethos.

      8 Principles

      At Uncommon Gardens, we recognize the importance of sourcing materials locally. By collaborating with nearby nurseries and suppliers, we reduce transportation emissions and support our community. Our plant selections are tailored to thrive in our specific climate, ensuring resilience and longevity.

      Waste reduction is at the core of our practices. Uncommon Gardens minimizes green waste by composting organic matter and reusing materials whenever possible. Our commitment to sustainable hardscaping materials and efficient irrigation systems further reduces waste.

      Healthy soil is the foundation of any thriving landscape. We prioritize soil health through organic amendments, cover cropping, and minimal disturbance during installation. By fostering robust soil ecosystems, we enhance plant vitality and water retention.

      Uncommon Gardens actively participates in carbon sequestration. Our choice of native trees and shrubs contributes to carbon storage. Additionally, we advocate for homeowners to maintain mature trees, which play a vital role in offsetting carbon emissions.

      Water conservation is non-negotiable. Our designs incorporate drought-tolerant plants, efficient irrigation controllers, and rainwater harvesting systems. Uncommon Gardens educates clients on responsible water usage, promoting a sustainable balance.

      Thoughtful landscape design can significantly impact energy consumption. Uncommon Gardens strategically places shade trees to cool outdoor spaces, reducing the need for air conditioning. We also integrate LED low voltage lighting and energy-efficient fixtures.

      Our commitment extends beyond aesthetics. Uncommon Gardens avoids harmful pesticides and synthetic fertilizers, safeguarding water quality. We promote native pollinator-friendly plants, enhancing biodiversity and air quality.

      Biodiversity thrives in well-designed landscapes. Uncommon Gardens incorporates native plants, birdhouses, and pollinator-friendly features. Our goal is to create havens for wildlife, fostering ecological balance.

      • Native Plant Palettes: We curate plant palettes that celebrate local flora, attracting native birds, butterflies, and beneficial insects.
      • Permeable Surfaces: Our hardscapes allow rainwater infiltration, reducing runoff and replenishing groundwater.
      • Educational Workshops: Uncommon Gardens hosts workshops on sustainable gardening practices, empowering our clients to be eco-conscious stewards.

      In conclusion, Uncommon Gardens aligns with ReScape’s principles to create landscapes that not only beautify but also regenerate our environment. Together, we cultivate spaces that honor nature’s wisdom and inspire a greener future.


      For more information about ReScape, visit their website1. If you’d like to explore our regenerative landscape designs, feel free to reach out to Uncommon Gardens at contact@uncommon-gardens.com.

      California Oaks and Acorns

      I took a walk this morning around the property and noticed the oaks were starting to fill with acorns.

      Quercus lobata – the Valley Oak:

       Quercus lobata, also known as valley oak or roble oak, is a large deciduous tree native to California. It belongs to the White Oak section of the oak genus. It has distinctive features in its leaves, acorns, and habitat.

      Leaves: The leaves of Quercus lobata are dark green on the upper surface and grayish green on the lower surface. They have fine soft hairs on the underside that make them feel velvety. They have 6-10 rounded lobes that vary in size, shape, and depth. The leaves release a forest-like aroma when they are crushed or broken. In autumn, the leaves turn yellow and brown before falling.

      Acorns: The acorns of Quercus lobata are conical, brown, and pointed. They are partly enclosed in deep cups that have light brown scales with small bumps or warts.

      an image of Qurcus lobata - the Valley Oak leaves and acorns

      The acorns are 25-35 mm long and 15-20 mm wide, which is larger than most other oaks. They mature in one year, which is faster than most other Californian oaks. These acorns are moderately sweet and edible, but they need to be leached of their tannins before consumption.

      Habitat: Quercus lobata grows in interior valleys and foothills from Siskiyou County to San Diego County in California. It prefers deep soils that have access to groundwater and can tolerate cool wet winters and hot dry summers. It is often found in valley bottoms, floodplains, creeks, and stream terraces that have seasonally saturated soils and may be intermittently flooded. It is the dominant species in both valley oak woodland and valley oak riparian forest ecosystems, where it forms dense stands or mixes with other plants.

      Quercus kelloggii the Black Oak:

      Quercus kelloggii, also known as California black oak, is a deciduous tree in the red oak group. It is native to California, where it grows on sunny and windy slopes and ridges with well-drained soils.

      Leaves: The leaves have seven lobes and a velvety texture. They are red and soft when they emerge, then turn dark green on the upper side and grayish green on the lower side.

      an image of Qurcus kelloggii - the Black Oak

      In autumn, they change to yellow-green and orange-brown before falling.

      Acorns: The acorns are relatively large compared to other oaks, measuring from 2.5 to 4 centimeters long and 1.5 to 1.8 centimeters wide. They have a slender shape and a reddish brown color. The base of the acorn is enclosed in a cupule, which is a woody structure that holds the acorn.

      an image of Qurcus kelloggii acorn-

      (note: the kelloggii on our property have not yet started any acorns this year… so the photo above is borrowed from pinterest.)

      The cupule is covered with thin scales that are appressed to the surface and smooth or slightly hairy at the tip. The scales are light brown in color and contrast with the darker acorn. The acorns mature about 7 to 8 months after pollination, which is unusual for a red oak, as most red oaks take two years to mature their acorns. These acorns are an important food source for many animals, such as squirrels, woodpeckers, deer, and bear. They are also edible for humans, but they too need to be leached of their tannins before consumption.

      Bark and habit: The bark is thin and smooth in young trees, but becomes thick, ridged, plate-like, and blackish in older trees. The bark protects the tree from fire and insects. The tree’s growth habit varies depending on the site and the age of the tree. It may grow as a shrub with multiple stems on poor sites, or as a medium-sized tree with a single trunk and a broad and rounded crown on better sites. The trunk is often forked into two or more branches, and may become hollow in old trees.

      Quercus agrifolia – the Coastal Live Oak:

      Quercus agrifolia – Coastal Live Oak The Quercus agrifolia is an evergreen tree that belongs to the red oak section (Lobatae) of the oak genus (Quercus). It is closely related to the black oak (Quercus kelloggii), but it has distinctive leaves, acorns, and habit that make it easy to identify.

      Leaves: The leaves of the coast live oak are oval, convex, and leathery, resembling holly leaves. They are 2 to 7 centimeters long and 1 to 4 centimeters wide, with smooth edges. The leaf margin has spiny teeth, with sharp fibers that extend from the veins. The leaves are dark green on both sides and stay green throughout the year. The leaves are adapted to the dry and windy conditions of the coastal regions, where they help reduce water loss and protect the tree from salt spray.

      Acorns: The acorns of the coast live oak are small and round, 2 to 3.5 centimeters long and 1 to 1.5 centimeters wide. They are reddish brown and have a cupule that covers about a quarter of the nut. The scales of the cupule are smooth to lightly covered with tiny hairs..

      an image of a Qurcus agrifolia acorn - the coastal live oak

      an image of Qurcus agrifolia - the coastal live oak

      This tree on our property has long, oddly curved acorns

      The acorns mature in about 7 to 8 months after pollination, which is unusual for a red oak. Most red oaks take 18 months to mature their acorns. The acorns are an important food source for many animals, such as squirrels, woodpeckers, jays, deer, and bears.

      Habit: The coast live oak has a branched trunk and can grow up to 25 meters tall. Some trees may live for more than 1,000 years. The trunk is often twisted, thick and gnarled, especially in older trees. The crown is round and dense in young and middle-aged trees, but becomes more open and defined in old trees. The coast live oak grows in a variety of habitats, from coastal hills and valleys to inland mountains and canyons. It is tolerant of drought, fire, and salt spray, but sensitive to sudden oak death, a fungal disease that has killed many oaks in California.

      Quercus wislizeni – the Inland Live Oak

       Quercus wislizeni, also known as interior live oak, is another species of oak tree native to California. It too is evergreen, meaning it does not shed its leaves in winter. It grows mainly in the interior valleys and foothills of the state, where it can tolerate dry and rocky soils.

      The leaves of Quercus wislizeni are oblong and leathery, with smooth edges and pointed tips. Quercus wislizeni is closely related to Quercus agrifolia, the coast live oak but can be distinguished by their smaller and more oblong leaves. They are glossy green on the upper surface and dull gray-green on the lower surface. The leaves are usually 1 to 3 inches long and 0.5 to 1 inch wide.

      The acorns of Quercus wislizeni are small and round, with a diameter of about 0.5 inch. They have a shallow cup that covers less than a quarter of the nut. Compared with the Q. agrifolia they are smaller and more oblong.

      an image of a Qurcus wizlizeni acorn - the Inland Live Oak

       The acorns mature in one year and are dispersed by animals such as squirrels and jays.

      The bark of Quercus wislizeni is dark brown or black, with deep furrows and ridges. The trunk can reach up to 3 feet in diameter, and the tree can grow up to 60 feet in height. The branches are often twisted and spreading, forming a dense canopy.

      ‘Weed Cloth’ is not what you think it is.

      If you are looking for a way to keep weeds out of your garden or landscape, you might have heard of weed cloth or barrier. However, this term is misleading and does not accurately describe what this material is and what it does. In fact, weed cloth is not a cloth at all, but a type of geotextile fabric that has many other uses and benefits besides weed control. In this blog post, we will explain what geotextile fabric is, how it works, and why it is not effective as a weed barrier.

      Weed cloth failure

      What is geotextile fabric?

      Geotextile fabric, also known as landscape fabric, is a permeable material made of polymer fibers such as polypropylene or polyester. These fibers are processed through various methods such as hot pressing and needling, gluing, and weaving to create a fabric-like structure. Geotextile fabric can endure a wide range of extremities and is long-lasting. 

      Geotextile fabric has many applications in civil engineering, construction, agriculture, and landscaping. Its primary purpose is to separate layers of gravel from soil and prevent gravel from sinking into the soil. This helps to maintain the integrity of the soil structure and prevent soil erosion. It is also used to reinforce the soil and provide stability to the ground. Geotextile fabric can also act as a filter, allowing water to pass through while blocking sediments and contaminants. Additionally, certain geotextile fabrics can serve as a moisture barrier, preventing water from seeping into the soil and causing erosion.

      Does geotextile fabric stop weeds?

      While initially geotextile fabric can help slow the spread and rate of growth of weeds, it is not meant to keep weeds out entirely.

      It does not stop vegetation from growing through it. Weeds can still germinate on top of the fabric or penetrate through the pores of the fabric. An added negative of this is that it makes weeding almost impossible as the roots are tied into the fabric and will just regrow after the upper plant is removed.

      What are the types of geotextile fabric?

      Geotextile fabric comes in two basic forms: woven and non-woven.  

      Woven geotextiles: These are made by weaving together individual threads of polypropylene or polyester fibers. They are strong and durable, making them ideal for use in applications that require high strength and stability.  

      Non-woven geotextiles:In contrast these fabrics are made by bonding together individual fibers using heat or chemicals. They are more flexible than woven geotextiles, making them ideal for use in applications that require flexibility and conformability.

      Both types of geotextiles have their advantages and disadvantages depending on the specific needs and conditions of the project.

      Woven geotextiles have higher tensile strength and lower elongation than non-woven geotextiles, meaning they can resist more force and deformation. However, woven geotextiles have lower permeability and porosity than non-woven geotextiles, meaning they allow less water and air to pass through. Non-woven geotextiles have higher permeability and porosity than woven geotextiles, meaning they allow more water and air to pass through. However, non-woven geotextiles have lower tensile strength and higher elongation than woven geotextiles, meaning they can resist less force and deformation.

      What are some drawbacks of using geotextile fabric?

      Geotextile fabric is not without its drawbacks. One of the main disadvantages of using geotextile fabric is that it is not biodegradable.

      Being poly materials, these fabrics last a long time and when they do break down they are difficult to remove and leave microplastics in the soil. This can have negative impacts on the environment and wildlife.

      Another disadvantage of using geotextile fabric is that it can interfere with the natural processes of the soil such as nutrient cycling, microbial activity, and organic matter decomposition. This can affect the health and fertility of the soil.

      How does weed cloth affect your garden layout?

      Weed cloth can negatively affect your garden layout in several ways.

      • First, it can make it harder to dig new holes for planting new plants or transplanting existing ones. You will have to cut through the fabric with a sharp tool such as a knife or scissors, which can damage the fabric and create gaps for weeds to grow through. You will also have to remove the excess fabric and dispose of it properly, which can be wasteful and harmful to the environment.
      • Second, weed cloth can limit your plant choices and diversity. Some plants may not thrive well with the fabric barrier, especially those that need deep roots or prefer moist soil. The fabric can also prevent beneficial organisms such as earthworms and microbes from reaching the soil and improving its quality. This can affect the health and fertility of the soil and reduce its ability to support a variety of plants.
      • Third, weed cloth can reduce your flexibility and creativity in designing your garden. You will have to stick to the original layout that you created when you installed the fabric, which may not suit your changing preferences or needs over time. You will also have less room for experimentation and improvisation, as you will have to plan ahead and cut holes in the fabric for every plant you want to add or move. This can make your garden look rigid and boring, rather than dynamic and lively.

      What are some alternatives to weed cloth?

      If you want to avoid using weed cloth in your garden or landscape, there are some alternatives that you can try. Some of these alternatives are:

      • Mulching: Mulching is covering the soil with organic materials such as wood chips, straw, leaves, grass clippings, or compost. Mulching can help suppress weeds by blocking sunlight and creating a physical barrier. It can also help retain moisture, regulate temperature, add nutrients, and attract beneficial organisms to the soil. Mulching can be done regularly throughout the year to maintain its effectiveness.
      • Dense Planting: Dense planting involves filling the space with plants that can outcompete weeds for resources such as light, water, and nutrients. Planting can help create a dense and diverse canopy that can shade out weeds and prevent them from germinating. Planting can also help improve the appearance and function of your garden by adding color, texture, fragrance, and wildlife value. Planting can be done according to your design preferences and needs.
      • Weeding: Weeding is manually removing weeds from the soil by pulling them out by hand or using tools such as hoes, trowels, or forks. Weeding can help eliminate weeds before they become established and spread seeds. Weeding can also help prevent weeds from competing with your desired plants for resources and space. Weeding can be done periodically throughout the year to keep your garden clean and tidy.

      Conclusion

      Geotextile fabric is a versatile material that can be used for a variety of applications such as separation, stabilization, reinforcement, filtration, moisture barrier, and drainage. While it is not meant to keep weeds out entirely, it works great for separating layers of gravel from soil and preventing gravel from sinking into the soil.  

      However, geotextile fabric is not effective as a weed barrier. It does not stop vegetation from growing through it. It also has some drawbacks such as being non-biodegradable and affecting the soil quality. Therefore, it is important to understand what geotextile fabric is, how it works, and what its limitations are before using it in your garden or landscape.

      BIOURBANISM: What are the benefits and challenges of applying biourbanism, a new paradigm for landscape design that considers cities as part of nature, to our residential landscape projects?

      Climate change is one of the most pressing challenges facing humanity and the planet. It is affecting the physical, biological, and social systems that sustain life on Earth. As landscape designers, we have a responsibility and an opportunity to address this challenge through our work. We can create landscapes that are not only beautiful and functional, but also resilient and adaptive to the changing climate.

      I just watched a lecture on @Vectorworks “coffee Breaks” with  Adrian McGregor, a landscape architect from Australia, who is one of the pioneers of this approach.

       He defines biourbanism as “cities = nature”, meaning that cities are part of nature and should be designed as ecological systems that are in harmony with the natural environment. He proposes a biourbanism model based on 10 interconnected systems that determine the health, prosperity, and resilience of cities: citizens, governance, economy, culture, health, water, energy, food, waste, and technology.

      BIOME/ANTHROME

      McGregor uses the term “anthrome’ – meaning a human-engineered biome, or a human-dominated ecosystem. He uses this term to describe cities as part of nature, rather than separate from it. He argues that cities should be designed as ecological systems that are in harmony with the natural environment.

      Anthome is a word that combines anthro (human) and biome (ecosystem), and it reflects McGregor’s vision of biourbanism as a new paradigm for urban planning and design in the age of climate change.

      What interested me is that McGregor argues that biourbanism is not only relevant for large-scale urban planning and design, but also for smaller residential landscape design projects. He suggests that by applying the principles and strategies of biourbanism to our gardens and backyards, we can contribute to the mitigation and adaptation of climate change at the local level.

      Some of the benefits of biourbanism for residential landscape design are:

      • It enhances biodiversity and ecosystem services by creating habitats for native plants and animals, improving soil quality, reducing stormwater runoff, filtering air pollutants, sequestering carbon, and providing food and medicine.
      • It reduces energy consumption and greenhouse gas emissions by using renewable sources such as solar panels, wind turbines, or biofuels, minimizing artificial lighting and heating/cooling systems, and maximizing natural ventilation and shading.
      • It increases water efficiency and security by harvesting rainwater, recycling greywater, installing low-flow fixtures, creating permeable surfaces, and implementing xeriscaping or drought-tolerant landscaping.
      • It promotes social cohesion and well-being by creating spaces for recreation, relaxation, education, and community engagement, fostering a sense of place and identity, and enhancing aesthetic and cultural values.

      Some Final Thoughts:

      Biourbanism is a new paradigm for landscape design in the age of climate change. It offers a holistic and integrated approach that considers the interrelationships between humans and nature, between urban and rural areas, and between local and global scales.

      By adopting biourbanism as a guiding principle for our residential landscape design projects, we can create landscapes that are not only beautiful and functional, but also resilient and adaptive to the changing climate.

      How to trim ornamental grasses – a neat and simple method that won’t leave you scrambling to clean up after you’re done.

      Ornamental grasses are a great addition to any garden, but they can quickly become overgrown and unsightly if not trimmed regularly. In this blog post, we will discuss the best practices for trimming ornamental grasses to keep your garden looking its best.

      Ornamental Grasses

      Ornamental grasses are a popular choice for many gardeners because they are low-maintenance and add texture and interest to any landscape. However, if left untrimmed, they can become an eyesore and detract from the beauty of your garden. Trimming ornamental grasses is an important task that should be done at least once a year to keep them looking their best.

      When to Prune Ornamental Grasses

      There are really two good times to prune ornamental grasses.

      The simplest approach would be to prune in the fall after your grasses start to dry and turn color.

      The second approach, and the one I recommend, is to wait until you see new growth in the spring. In California this is usually January. The nice thing about this pruning method is that you’re leaving the seed heads and the leaves as food and shelter for the native birds and insects. Plus, dried grasses can be very sculptural and add visual interest over the winter.

      Piet Oudolf makes good use of this in his meadow gardens.

      Tools Required

      Before you begin trimming your ornamental grasses, you will need a few tools:

      • Natural Twine (or bungee cord)
      • Pruning Shears, Hedge clippers or Loppers – don’t forget to put a nice hone on the blade with your sharpening steel.
      • An Olfa snap off utility knife
      • Cotton painters drop cloth.
      • Gloves (optional)

      I also like to have my hori hori garden knife with me no matter what garden task I’ve started out on…

      Pruning Tools

      Step-by-Step Guide

      working time: 1 – 2 hrs

      total time: 1 – 2 hrs

      skill level: beginner

      estimated cost: $0

      Let’s Get Started

      Gather your tools and put on gloves (or not – if you’re feeling lucky!).

      Note: be sure to wear long sleeves when working with grasses. Some of them have sharp edges that can, and will, abrade your arms if you let them.

      Instructions:

      Begin by combing the grass

      • Rake your gloved fingers (or a hand rake gardening tool) through the middle of the clump grabbing all the dead and loose dried up grass leaves.
      • Comb through the entire mass of grass and shake it periodically, this will extract more dried plant material. You may accumulate a considerable pile of dead material, which you can throw on top of the drop cloth as you move through the garden.

      Tie up your grasses

      • Wrap twine or bungee cord around the base of the grass.
      • Make sure it’s nice and tight while also leaving enough room for you to cut the grass a few inches beneath the bottom of the cord so that the tie can keep things secured together.
      • The nice thing about natural twine is that the whole bunch can now be collected on your drop cloth and brought to be composted.

      Trim below the cord

      • Next use your pruning shears to cut through the grass.
      • Grasses that are taller than three feet should be cut back to four to six inches from ground level. Shorter mature plants can be cut back to about three inches.
      • When you’re done, if it’s jute, hemp, or another natural twine you can toss the bundles onto the drop cloth. If you’d rather you can untie them and dump the cutting loose and reuse the twine.
      • When you have a good load, grab the corners of the drop cloth and drag it over to your compost area or to dispose as required.

      For quick trims

      You can also grab a bunch of grass in your hand and cut above or below. You’ll have to repeat this several times, but it works and may be easier for quick touch-ups. Instead of the drop cloth, I sometimes just bring a 5 gal bucket around if I’m just trimming up a bit.

      Pruning goals

      It’s important to aim for clumps that look well-groomed but not overdone. To achieve this, take a step back from your work occasionally to assess the result. Stop pruning when you achieve an appearance that is neat and natural.

      Cutting and grooming ornamental grass is essential for its healthy growth. By removing all the dry, old growth that is essentially a big mess of dead grass, new growth will be exposed to sunlight and fresh air, which is crucial for its health. If you are compelled to cut ornamental grass very short, do not trim it any lower than 4 inches from the ground – but generally removal of the dry blades and a good shaping is all that will be needed.

      Conclusion

      If you perform ornamental grass pruning as laid out above, it will keep things clean and healthy in two ways. First, it will prevent the grass from falling all over the place which will make it harder to collect and tidy up before throwing it away. Secondly, it allows you to cut the grass in a nice, clean line and leaves you with a neat looking winter garden that will be ready to grow again during the next growing season.

      Defensible Space is simple – and it’s essential to improve your home’s chance of surviving a wildfire!

      Image thanks to CAL FIRE

      Zone 0

       This zone is the ember-resistant zone that extends 5 feet from buildings, structures, decks, etc. This zone includes the area under and around all attached decks and requires the most stringent wildfire fuel reduction. The ember-resistant zone is designed to keep fire or embers from igniting materials that can spread the fire to your home.

      The following provides guidance for this zone: use hardscape like gravel, pavers, concrete, and other noncombustible mulch materials; remove all dead and dying weeds, grass, plants, shrubs, trees, branches and vegetative debris (leaves, needles, cones, bark, etc.); check your roofs, gutters, decks, porches, stairways, etc.; remove all branches within 10 feet of any chimney or stovepipe outlet; limit combustible items (outdoor furniture, planters, etc.) on top of decks; relocate firewood and lumber to Zone 2; replace combustible fencing, gates, and arbors attach to the home with noncombustible alternatives; consider relocating garbage and recycling containers outside this zone; consider relocating boats, RVs, vehicles and other combustible items outside this zone.

      Zone 1

      This area extends 30 feet from buildings, structures, decks, etc. or to your property line whichever is closer. This zone is called the Lean Clean and Green Zone. In this zone remove all dead plants, grass and weeds (vegetation). Remove dead or dry leaves and pine needles from your yard. And remember to remove branches that hang over your roof and keep dead branches 10 feet away from your chimney.

      Zone 2

      After Zone 1 this zone extends out to 100 feet from buildings or to your property line whichever is closer.

      In this zone create horizontal and vertical spacing between plants. The amount of space needed depends on how steep your property is and the size of the plants. For example large trees need more space than small trees. If you’re not sure how much space to provide consider hiring a professional landscape designer or arborist.

      By implementing these zones you can reduce the risk of wildfire damage to your home.

      If this all seems a little complicated, Give Us a Call and we will stop by consult on ways you can harden your home to Wildfire Risk!

      What are Wildfire Zones

      Wildfire zones are areas that are prone to wildfires.

      Fire Hazard Severity Zones fall into the following classifications: Moderate, High, and Very High.

      These zones are classified based on the severity of the fire hazard and the likelihood of a wildfire occurring.

      The classification of these zones is required by law in California, and the fire hazard severity zone designations and accompanying maps must follow the Administrative Procedures Act (APA) and be approved by the Office of Administrative Law (OAL).

      The State Fire Marshal is mandated to classify lands within State Responsibility Areas into Fire Hazard Severity Zones (FHSZ).

      To understand wildfire zones, it is important to understand the factors that influence fire likelihood and fire behavior.

      Wildland vegetation such as grass, brush, and timber can be extremely combustible.

      The vegetation can burn with great intensity and produce firebrands and burning embers that can become wind-driven hazards.

      Landscape vegetation can be as combustible as wildland vegetation.

      Combustible plants have these characteristics: they have a high oil or resin content; they have a high sap or resin content; they have a low moisture content; they have a high surface-to-volume ratio; they have a high fuel load; they are dead or dying.

      Homeowners in higher risk wildfire zones should take steps to reduce the risk of wildfire damage to their homes by creating defensible space around their homes.

      Defensible space is an area around a building where vegetation and other debris are cleared, reduced, or replaced to slow the spread of wildfire towards the building.

      We will add a post soon explaining Defensible Space!

      Privacy Settings
      We use cookies to enhance your experience while using our website. If you are using our Services via a browser you can restrict, block or remove cookies through your web browser settings. We also use content and scripts from third parties that may use tracking technologies. You can selectively provide your consent below to allow such third party embeds. For complete information about the cookies we use, data we collect and how we process them, please check our Privacy Policy
      Youtube
      Consent to display content from - Youtube
      Vimeo
      Consent to display content from - Vimeo
      Google Maps
      Consent to display content from - Google